May 1, 2026 • Daniel Sato • 10 min reading time • Specs verified June 24, 2026
Marking Knives and Scribing Tools: The Layout Precision That Separates Tight Joinery from Sloppy Fits
If you’ve ever cut a dovetail, a mortise, or even a simple dado and ended up with a gap you could slide a business card through, there’s a good chance the problem started not at the saw or chisel — but at the line. A marking knife is exactly what it sounds like: a small, precise blade used to score a line directly into wood fibers before you cut. Unlike a pencil line, which is fuzzy and sits on top of the wood surface, a knife line severs the fibers cleanly and creates a tiny physical groove — a ledge that your chisel or saw can register against. That’s the whole game. When you get that line right, joinery closes up tight. When you skip it or use the wrong tool, you’re chasing gaps at the bench instead of moving on to the next piece. This guide breaks down what actually matters in marking knife and scribing tool design, names the tradeoffs between the major options, and gives you a clear decision framework so you can spend your money confidently.
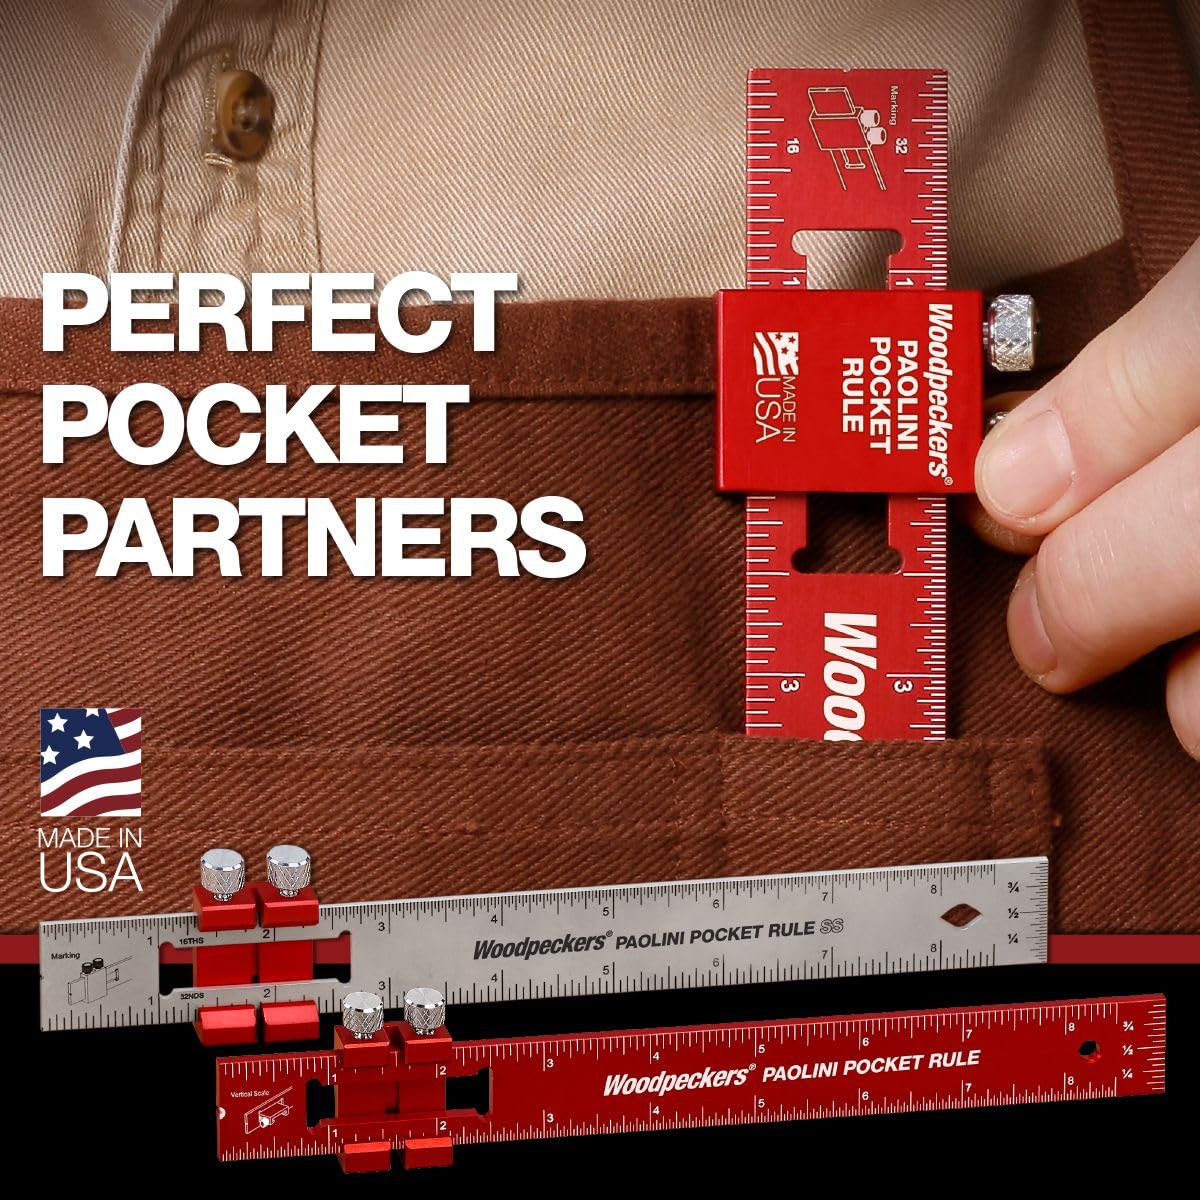
| EDITOR'S PICK[Woodpeckers Paolini Pocket Rule](https://www.amazon.com/dp/B09B8WD4M5?tag=greenflower20-20) | Mid-tier[Clarke Brothers Wheel Marking G…](https://www.amazon.com/dp/B07FWS5T1L?tag=greenflower20-20) | Budget pick[RUITOOL Marking Knife](https://www.amazon.com/dp/B0DB24DNX8?tag=greenflower20-20) | |
|---|---|---|---|
| Type | Ruler/rule | Wheel gauge | Knife |
| Blade material | — | — | High carbon steel |
| Blade bevel | — | — | Double beveled |
| Sheath | — | — | ✓ |
| Scale type | Engraved | Metric/Imperial | — |
| Length | 6" / 150mm | 7" | — |
| Price | $43.99 | $34.80 | $16.79 |
| See on Amazon → | See on Amazon → | See on Amazon → |
Why Your Pencil Is Lying to You (And What to Do About It)
A standard pencil line is roughly 0.5–0.7 mm wide. On a rough layout sketch, that’s fine. On a dovetail that needs to close to zero gap, you’re introducing roughly half a millimeter of ambiguity at every reference line — and ambiguity compounds. By the time you’ve marked a baseline, transferred a shoulder line, and scribed a mating piece, you might be working with 1.5–2 mm of cumulative error before a single cut is made.
A marking knife eliminates most of that. The blade tip contacts wood at a controlled angle and severs fibers rather than crushing them. The resulting kerf — the narrow groove left by the blade — is typically under 0.2 mm. More importantly, that groove gives your chisel or saw tooth a mechanical home. You’re not interpreting a line; you’re registering into one.
Fine Woodworking’s layout tool coverage has made this point repeatedly: the difference between a craftsman who cuts to the line and one who cuts to the wall of a knife groove is a difference in class of precision, not just degree. That’s the practical case for spending $40–$200 on a dedicated marking knife instead of reaching for the pencil.
Blade Geometry: The Decision That Drives Everything Else
This is where marking knives diverge meaningfully, and where most buyers make the wrong tradeoff.
Single-bevel vs. double-bevel blades. A single-bevel blade (flat on one face, angled on the other) is the workhorse of serious joinery. The flat face registers flush against your square or straightedge, which means the cut goes exactly where the reference tool says — no drift, no interpretation. The angled face does the severing. This is the geometry you find on Japanese-style marking knives, on Veritas’s standard marking knife, and on most Lie-Nielsen offerings. Popular Woodworking’s coverage of layout tools consistently describes single-bevel blades as the correct choice for dovetails, mortise-and-tenon work, and any joinery where one face of the line is the reference face.
The tradeoff: a single-bevel knife cuts cleanly in one direction. Flip your workpiece or approach from the other side and you need to either use the other edge of the blade (if it has one) or re-register. For finish carpenters scribing trim to an irregular wall, this matters. For bench joinery, it rarely does.
Double-bevel blades are symmetrical — both faces are angled. They cut in either direction without re-registering, which makes them faster for scribing work and for marking on curved or irregular surfaces. The cost: the cutting tip is set slightly away from the reference face of your square, introducing a small but real offset. Wood Magazine’s layout roundup notes this is “acceptable for most scribing applications, problematic for precision joinery.” If you’re fitting door casings, a double-bevel knife is a legitimate daily driver. If you’re cutting hand-cut dovetails, the single bevel is worth the extra mental step.
Blade steel and edge retention. This is where the premium brands justify their prices most clearly. A/2 tool steel (air-hardened) holds an edge longer than O1 (oil-hardened) but is slightly harder to resharpen by hand. O1 sharpens more easily and takes a keener initial edge but dulls faster in production use. Most Veritas blades ship in A2; Lie-Nielsen offers both. For hobbyist use — a few hours a week at the bench — O1 is excellent and the sharpening advantage is real. For a production cabinet shop where a marking knife gets used dozens of times a day, A2’s longevity starts to matter commercially.
By the Numbers: A Quick Comparison
| Tool | Blade Steel | Bevel | Street Price (2026) | Best For |
|---|---|---|---|---|
| Veritas Marking Knife | A2 | Single | ~$42 | Bench joinery, dovetails |
| Lie-Nielsen Marking Knife | O1 | Single | ~$95 | Precision joinery, heirloom quality |
| Blue Spruce Marking Knife | O1 | Single | ~$120–$165 | Collectors, premium gifting |
| Pfeil (Swiss Made) Marking Knife | Carbon steel | Single | ~$55 | Mixed use, durable |
| Crown Tools Striking Knife | Carbon steel | Double | ~$28 | Scribing, trim carpentry |
Prices reflect authorized-dealer averages as of mid-2026; verify current pricing at Highland Woodworking, Tool Nut, or Acme Tools.
Handle Design and Ergonomics: Where “Feels Good” Meets Real Data
This is the part tool buyers often dismiss and then regret. A marking knife is held at low angle, often with two or three fingertips near the blade, for extended registration passes. Handle geometry matters here in ways it doesn’t for a chisel you strike with a mallet.
Octagonal vs. round handles. An octagonal handle doesn’t roll on the bench — a minor but genuinely useful feature when you’re juggling a square, a workpiece, and a knife simultaneously. More importantly, the flat faces give your fingers tactile reference for blade orientation. You know which way the bevel is facing without looking. Lie-Nielsen’s marking knife uses a round handle with a comfortable taper; it’s elegant but requires a small learning curve for blade-orientation awareness. The Veritas handle uses a more angular profile that owners in aggregated reviews consistently describe as easier to orient by feel.
Length and balance. Shorter handles (under 4 inches total length) concentrate control close to the blade, which most experienced woodworkers prefer for joinery work — the kind of reference-precise marking where you’re pushing the tip into a corner. Longer handles feel more natural for scribing passes where you’re drawing the knife across a surface rather than registering it into a corner. Blue Spruce offers some of the most ergonomically refined handles in the segment, according to Fine Woodworking’s tool reviews, with carefully considered diameter taper and material choices that reduce hand fatigue during extended layout sessions.
Handle material. Stabilized wood, G10 fiberglass composite, and turned hardwood are the dominant options at the premium end. Stabilized wood combines wood’s warmth and grip with dimensional stability — it won’t swell or shift with humidity changes in the shop. G10 is nearly indestructible but feels clinical to some users. Traditional hardwood is the classic choice and is entirely adequate if you’re not working in a wet environment. This Old House’s finish carpentry coverage points out that for trim and scribing work in active job sites, a more durable synthetic handle holds up to being dropped and knocked around in a tool bag in ways that fancy turned wood does not.
Scribing Tools: A Different Problem, the Same Principle
A scribing tool — sometimes called a scriber, a compass, or a contour gauge — addresses a related but distinct problem: transferring an irregular surface profile onto a workpiece so you can cut it to fit. Think of fitting a cabinet side to a wavy plaster wall, or cutting the bottom of a door casing to follow an uneven tile floor.
The cheapest solution is a compass with a pencil leg. It works, and for rough carpentry it’s often plenty. But the same fuzziness problem applies: a pencil scribe line on an irregular surface is hard to cut to precisely. Better scribers — like the Veritas Compass, which can accept a marking knife blade in place of a pencil — score a line rather than draw one. That’s a meaningful upgrade when the fit needs to be tight.
For cabinet installation and finish carpentry, a dedicated scribing tool like the Empire Level Scriber or the Tajima scribing gauge gives you adjustable, repeatable offsets that you can lock down and work from. Contractors who install a lot of kitchen cabinetry will recognize the value immediately: set the offset once, run it along the wall, cut to the knife line, and the gap closes. This Old House’s finish carpentry guides specifically call out scriber quality as an underrated variable in how cleanly a cabinet installation reads from a distance.
The Decision Framework: If X, Then Y
Here’s where we cut through the options and give you a clear path forward.
If you’re a hobbyist doing hand-cut joinery 1–3 times per week: The Veritas Marking Knife at ~$42 is the clearest value in the segment. Single bevel, A2 steel, ergonomic handle, made in Canada by a company with excellent customer service and widely available at Tool Nut and Highland Woodworking. This is the tool Popular Woodworking and Wood Magazine routinely recommend to readers stepping up from a utility knife. It will outlast your interest in sharpening it before it wears out.
If you’re a professional cabinet maker or finish carpenter doing layout work daily: Step up to Lie-Nielsen or Blue Spruce. You’re buying total cost of ownership — edge retention in A2 or well-heat-treated O1, handle quality that doesn’t degrade over years of use, and the resale value that comes with tools that hold their market price. A Lie-Nielsen marking knife bought today will sell for 60–70% of purchase price used in good condition, based on aggregated resale data from tool community marketplaces. That’s a real number that affects the TCO calculation.
If you primarily do scribing and trim work rather than bench joinery: A double-bevel knife plus a quality adjustable scriber is the right combination. Crown Tools’ striking knife and a Veritas or Tajima scribing gauge gives you the flexibility for irregular surface work without paying the premium for single-bevel precision you won’t fully use.
If you’re not sure yet: Buy the Veritas. It’s the tool that lets you develop an opinion about what you actually need. If you find yourself wanting a flatter side for tighter corner registration or a more refined handle, that’s the data point that justifies the upgrade to Lie-Nielsen or Blue Spruce. Don’t buy the premium tool before you know what problem you’re solving.
Where to Buy (And Why It Matters Here)
Marking knives at the premium end are widely counterfeited or misrepresented — particularly on gray-market channels. A “Lie-Nielsen” knife from an unauthorized reseller may be a legitimate old production piece or it may be an imitation with inferior steel heat treatment that looks identical until it chips on the first mortise.
Buy from authorized dealers: Highland Woodworking, Tool Nut, Acme Tools, and Woodcraft all carry the full professional range and provide manufacturer warranty support. Veritas is available direct from Lee Valley, which is its own flagship channel in North America. Paying the street price from an authorized dealer is not just a brand-loyalty decision — it’s the only way to guarantee you’re getting the steel specification and heat treatment the manufacturer actually designed.
The line you scribe is only as good as the blade that makes it. Get the blade right, and your joinery will tell you the difference.